Smart Ways to Change Your Shower Head in 2025 and Enhance Your Bathroom Experience
Changing your shower head is not only a great way to update your bathroom’s look, but it also allows you to improve your shower experience significantly. Whether you’re looking to replace an old shower head or upgrade to something more efficient, there are several smart ways to ensure your shower head change is seamless. This article is designed to provide you with a comprehensive guide on how to change a shower head, along with essential tips and tricks for enhancing your bathroom experience in 2025.
Essential Tools Needed for Shower Head Change
Before diving into the process of replacing or upgrading your shower head, it’s crucial to gather the right tools. When you learn how to change a shower head, have handy items like an adjustable wrench, pliers, a clean cloth, and shower head sealing tape on hand. These basic tools are often sufficient to complete the installation without any hassle. If you’re considering a shower head installation to fix some common shower head problems, ensure you also gather a utility knife and a small bucket to catch any drips during the process.
Common Tools for Shower Installation
The **tools needed for shower head change** are not complex. The combination of an adjustable wrench and pliers should greatly assist you when removing the old shower head and installing the new one. Additionally, using a clean cloth helps prevent scratches on the finished surfaces. An important step during this process is to have shower head sealing tape ready to ensure a leak-free installation after you’ve replaced your old shower head.
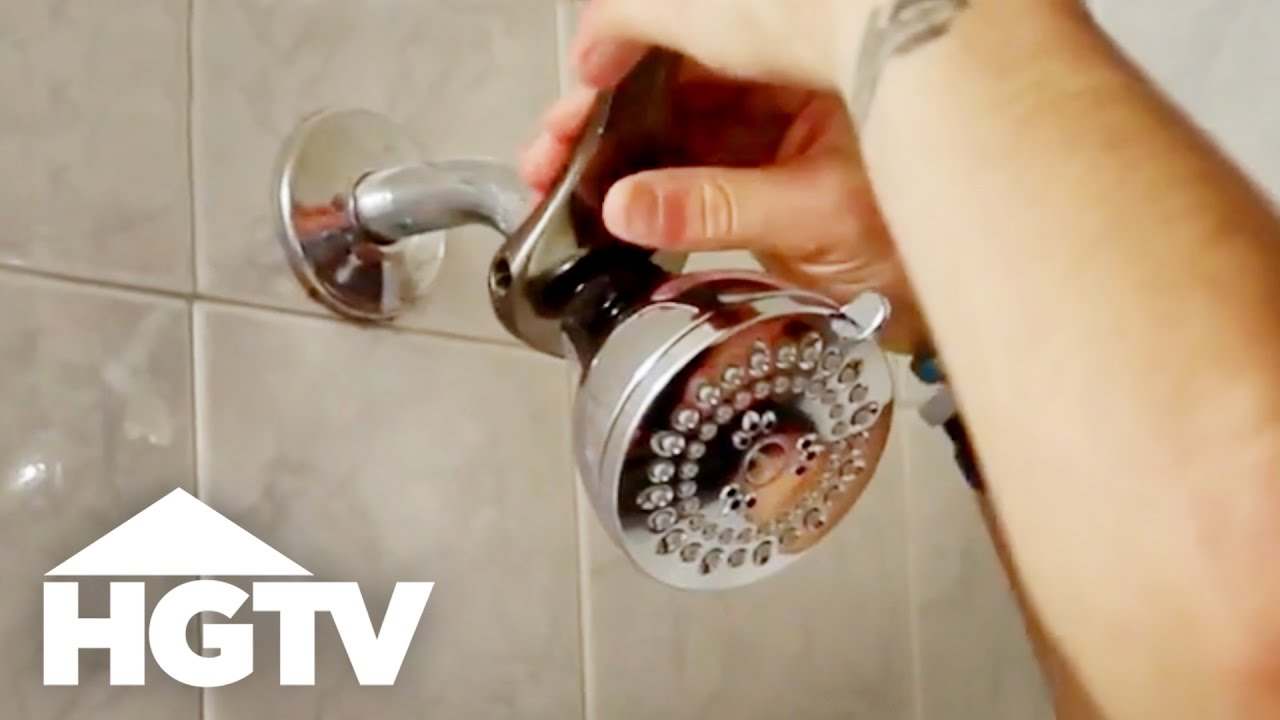
Safe Shower Head Removal Techniques
Before starting, it’s essential to **remove the old shower head** safely. You can start pouring hot water over the shower head to loosen debris and mineral build-up. Then, using your adjustable wrench, gently turn the shower head counterclockwise. **Removing a stuck shower head** may require you to use some penetrating oil, so patience is key! Always wrap the shower arm with a cloth before gripping it with pliers to avoid any damage during the removal.
Preparation and Inspection Before Installation
When you’re preparing for the shower head installation, make sure to thoroughly inspect the existing shower arm. Look for any areas where you may need to **fix shower head leaks**, as these can often prevent a proper installation. It’s wise to clean any tarnish, grime, or old sealing tape remnants to ensure a clean surface for applying your new shower head.
Choosing the Right Shower Head
Selecting the best shower head that suits your preferences can greatly enhance your shower experience. From visually appealing designs to optimal performance, understanding the different **shower head types** is essential. New trends in 2025 focus on eco-friendly options and advanced shower head technology that cater to water saving and efficiency.
Popular Shower Head Styles
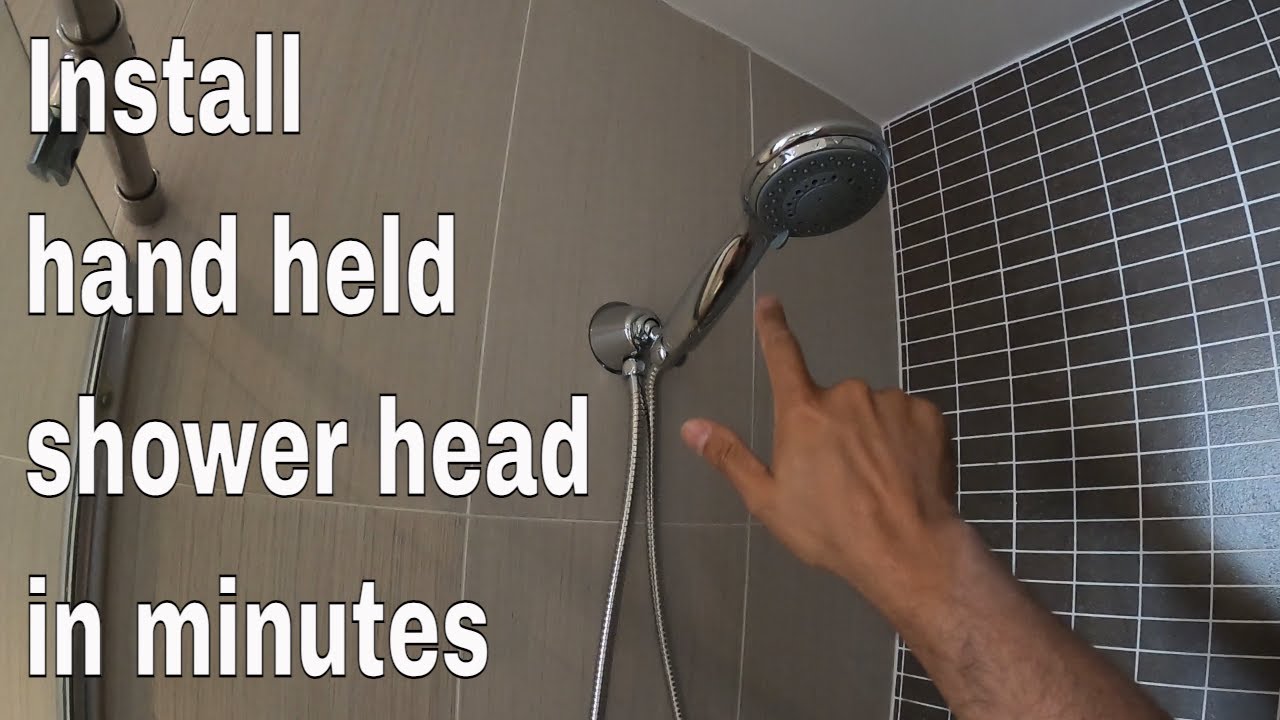
When it comes to **shower head styles**, options abound. You can choose from fixed, handheld, rain shower heads, or even models featuring adjustable settings for a customized shower experience. If you’re interested in **shower head with handheld feature**, this option can provide more flexibility in how you shower, making it easier for washing or rinsing in hard-to-reach areas.
Understanding Shower Head Features
Before buying a new model, it’s worthwhile to research the **shower head features** available on modern products. From built-in filters for improved water quality to LED lights that indicate water temperature, these features not only enhance functionality but also your overall enjoyment. Pay attention to how each feature can affect **shower head energy efficiency**, contributing to lower bills and a positive environmental impact.
Water-Saving Options
In 2025, the focus on **water-saving shower heads** has become increasingly important. Selecting a low-flow shower head might improve your water usage significantly. Investing in energy-efficient designs help remind us of our responsibility towards the environment while enjoying the refreshing feeling of a good shower.
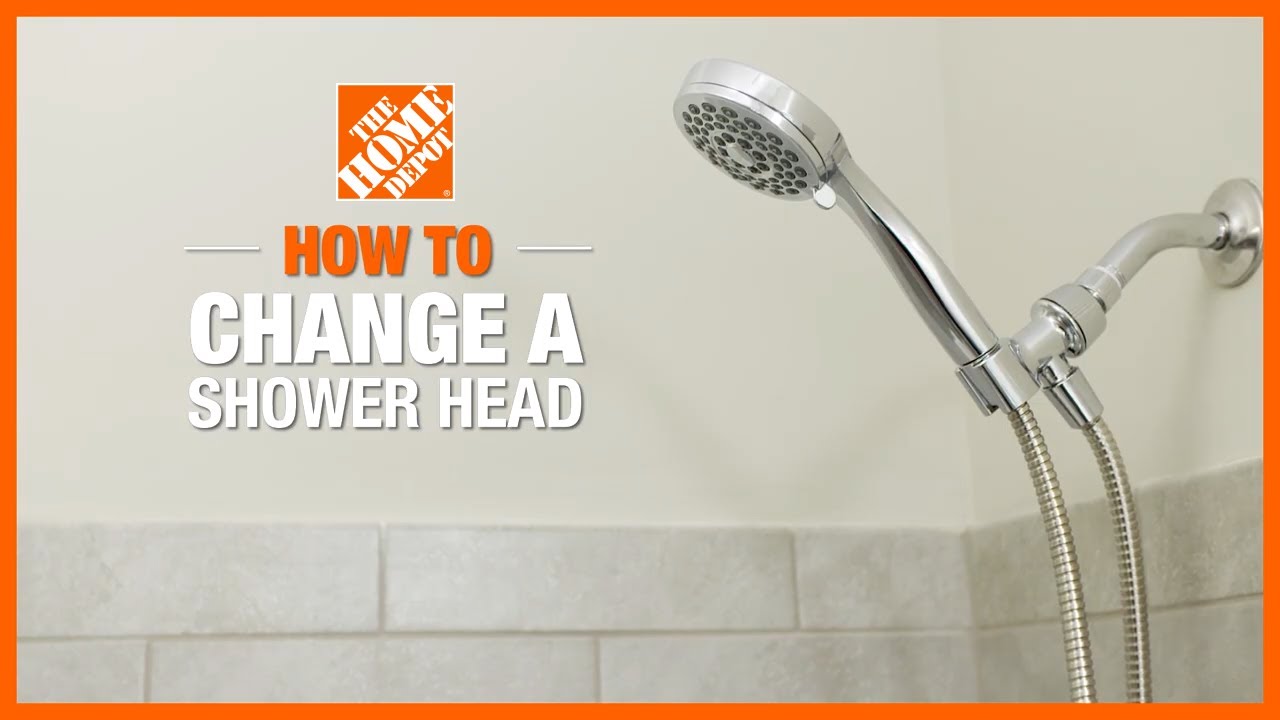
Step-by-Step Shower Head Change Process
Now that you’ve prepared for your shower head replacement, let’s dive into a simple **step-by-step shower head change** guide that ensures you correctly install your new shower head for optimal performance.
Instructions for Shower Head Replacement
Your **instructions for shower head replacement** begin with turning off the water supply to your shower. Once confirmed, use your adjustable wrench to safely remove the old fixture. Clean the threads on the shower arm and apply fresh shower head sealing tape for a secure fit. Place the new shower head onto the shower arm and tighten it gently. Avoid overtightening, as this could lead to damage.
Adjusting Shower Head Height
For those who are wondering **how to extend shower head height**, some models come with adjustable extensions or you can opt to replace the arm with a longer one. This adjustment is vital for ensuring the comfort of all users, especially in households with varying heights. Remember to check the alignment post-installation to make sure everything fits well before using it.
Testing Your Installation
After the installation is complete, turn on the water to test for leaks and ensure everything is working correctly. A quick adjustment of your newly installed shower head may be needed based on the flow and spray settings. In case of any leaks observed during this testing, you may want to employ simple **fixing shower head leaks** techniques, possibly requiring a reapplication of sealing tape or adjusting tightness.
Ongoing Maintenance and Care
<pRegular maintenance is crucial once you have successfully replaced your shower head. Keeping your fixture clean and free of debris can result in enhancing durability and overall performance.
Shower Head Cleaning Techniques
To maintain your shower head effectively, consider regular **shower head cleaning** using a vinegar solution to remove mineral build-up. Soaking the shower head in a mixture of equal parts vinegar and water can dissolve most deposits. After soaking, scrub gently with a cloth or toothbrush before rinsing thoroughly.
Common Shower Head Problems
Being familiar with potential **common shower head problems**, such as low water pressure or strange noises during usage, is essential for early identification and troubleshooting. Keeping an eye out for these signs and acting quickly will prevent more complicated plumbing issues. Having a list of **plumbing tips for shower heads** can also help you recognize when to call a professional for more severe complications.
Assessment of Shower Head Performance
As time goes on, assess your **shower head performance** occasionally. Should you notice decreased water pressure or issues with spray quality, it may be time to clean or replace your shower head. Proper maintenance ensures persistent enjoyment of your bathroom upgrade.
Key Takeaways:
- Choose the right shower head to enhance your shower experience in 2025.
- Gather essential tools for a smooth replacement process.
- Utilize effective cleaning techniques to maintain the performance of your shower head.
- Keep a checklist of common problems and maintenance tips handy for future reference.
- Enjoy the benefits of energy-efficient and water-saving shower head technologies.
FAQ
1. What is the average cost of shower head replacement?
The **shower head replacement cost** typically ranges from $20 to $200 depending on the model you choose. Factors influencing price include brand, features, and installation complexity.
2. How do I maintain my new shower head?
Using regular **shower head maintenance techniques**, it’s best to clean your fixture with a vinegar solution every few months to prevent mineral build-up and maintain water flow efficiency.
3. Are there specific shower heads for low water pressure?
Yes, there are specially designed **shower heads for low water pressure**. These models often include pressure-boosting technology to enhance water flow even in low-pressure situations.
4. What should I do if my new shower head is leaking?
If your shower head is leaking after installation, check for tightness and reapply **shower head sealing tape**. Often, a simple adjustment can solve the problem effectively.
5. How often should I replace my shower head?
You should consider replacing your shower head every 5 to 10 years or whenever you notice a drop in performance, such as inconsistent water flow or leakage.